
How to Paint Furniture for a Desk Makeover
Mar 31, 2023 / Liset Marquez
For months, I watched TikTok video after video offering DIY tips on how to paint furniture. I had the grand idea of one day updating my desk, as an important step in giving my workspace a boost.
My long-overdue plan to give my desk a makeover finally came to fruition when I went into a home improvement store and came across some paint samples. I was inspired!
Active work time: Three and half hours
Desk Painting Supplies:
• 150 medium grit sanding paper
• Hand sander
• Dry cloth to remove dust
• Degreaser and cleaning towel
• 4-inch paint roller
• 1 ½ inch chip brush
• Plastic tray
Picking a Paint Color
I wanted a color that would be soothing and relaxing, especially since I will be staring at it all day.
I decided on a muted pale mint green called Restful! The color was part of the Coastal Cool collection described by Sherwin Williams as creating “a fresh, breezy feeling that beckons barefoot comfort.”;
Yup that matched the mood I wanted for my desk and room.
Besides the 29-ounce can of paint, which cost about $16, I also picked up some sanding paper and a paint roller. In all, I spent less than $30.
Prepping for Paint
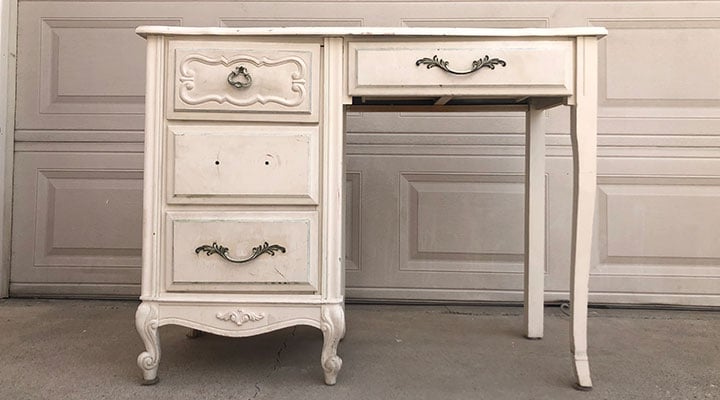
Once I had the paint and gear, I went to work, emptying everything inside since this was an excellent opportunity to declutter and organize each drawer.
From there, I began prepping the desk for painting. I went through and removed all the hardware and saved it for later.
Sanding the Desk
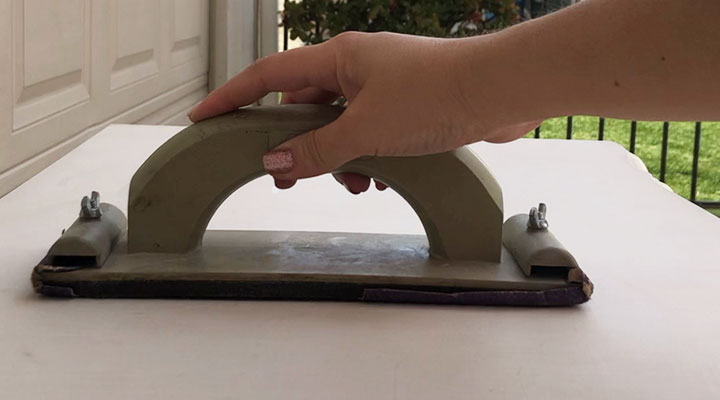
The desk had a thin layer of white paint that, over the years, began to look more beige. Luckily for me, it wasn’t too thick and didn’t require a paint stripper.
I went around the desktop, gave it a light sanding using the hand sander in the image below, and followed it up with a dry cloth to pick up any leftover dust.
I gave the rest of the desk a deep clean using a degreaser. Next, I pulled out all the drawers and again cleaned some of the dust from inside.
Painting the Desk
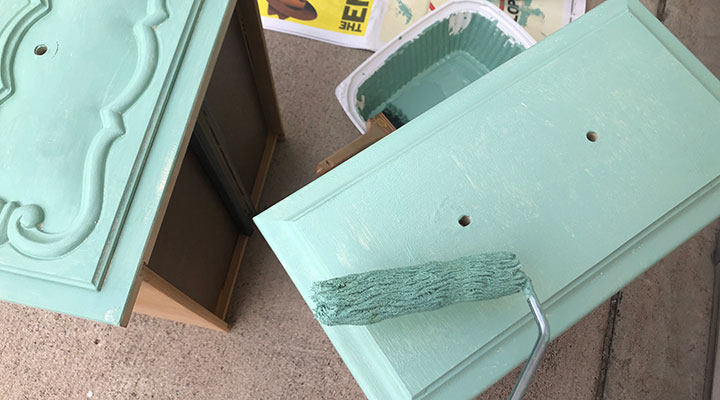
Now to the fun part, the painting. Before I did any painting I made sure to cover the floor with newsprint as a precaution. After opening my paint and giving it a good mix, I was ready to pour it into a small tray. I chose a paint that didn’t require a separate primer coat.
Since my desk isn’t exactly huge, I knew a 4-inch roller and 1 ½ inch paintbrush would get the job done fast. It took me about an hour to finish one layer, waiting about 30 minutes before the second layer. In all, it took about two and half hours to paint.
The roller did a great job covering the first layer, and I used the brush for some hard-to-reach corners. The roller left the paint go on a bit thick with some texture, but it evened out once it dried.
I gave the whole desk and drawers an initial layer and then let it dry before giving it a second coat. Then I went back with my brush to get some areas I missed around the legs. I let the desk sit out in the sun for the rest of the afternoon so it could continue to dry.
Even though I gave it a couple of layers I still had more than half the can full. I closed it right away. Don’t forget to read our tips for how to store paint to be able to reuse for future touchups or maybe another piece of furniture!
Painting the Hardware
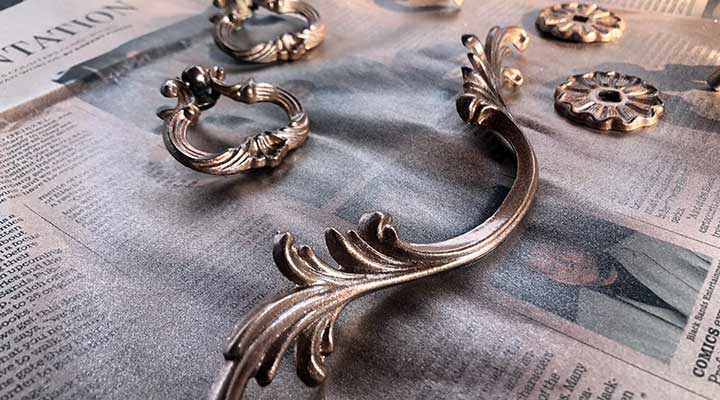
As I waited for the final layer to dry, it was time to give my hardware a nice update. Until I realized I never picked up any spray paint. It wouldn’t be a DIY project if you didn’t go to the home improvement storage more than once a day, right?
After perusing the spray paint section for a couple of minutes, I decided to go with a rose gold metallic spray paint because it stood out a little more than the copper.
Honestly, I found spray painting a little more challenging than painting my whole desk. It was later in the day and a little windier, so I had to make sure to hold down the newspapers while I sprayed on the color and wait about 15 minutes between coats to let it dry.
It took a couple of coats to get the desire colored. To save time, you could pick up new handles with your paint rather than touching up the old ones.
Before the day was over, with the help of sunny Southern California weather, my desk was dry, and I was able to bring it inside.
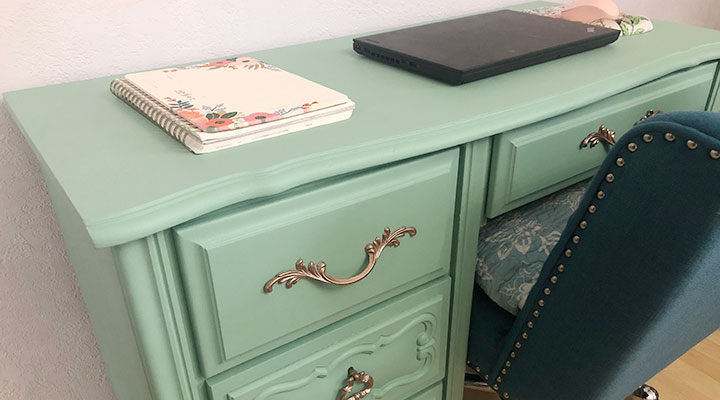
The following day I added the hardware, and I was ready to enjoy the new view!
If this has inspired to give your furniture a makeover, then you we’ve also got expert decorating tips to freshen your space. If you’re in need of furniture, then learn how to shop like a pro at a flea market to furnish your space.
These smart study spaces for distance learning from creative parents can help the young ones learning in your home.


